Easy and Affordable Isabelle Lightwood Whip! - Cosplay Look/Tutorial
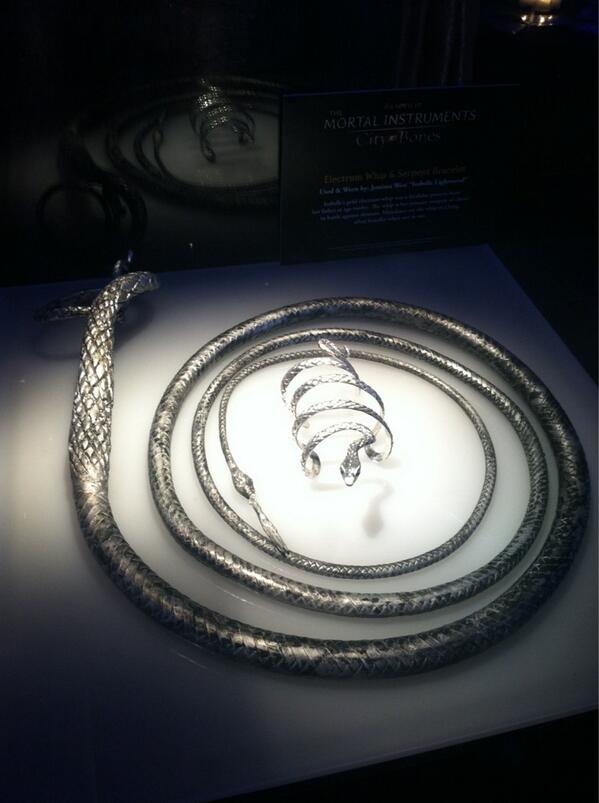
Hello, everyone! I'm back, and I'm here to tell you how I made my Isabelle Lightwood whip. It's super easy, quick, and inexpensive. And if you have a really cute outfit, add this little touch and a few runes, and you got a last minute shadowhunter costume! Let's start with what we need!
All together we need a whip, spray paint, newspapers, and some old clothes. I got my whip at Ultimate Party for $6 plus tax, which isn't terrible, but I also found this whip on the Party City website. It is only $3.50 plus tax and shipping, which isn't too shabby. I bought my metallic silver spray paint at Walmart, which you can find here. It's about $3.70, and I found it to be the perfect shade for the project.
The newspapers and the old clothes are merely to protect the ground and your good clothes from the back spray. They are especially important if you plan to do this on a windy day or happen to be too close to the road when cars drive by. Guess which one I dealt with. Trick question. It was both.
Here's a couple of tips that I discovered when I was doing the project. You may want something heavy to keep your newspapers in place. For some reason my apartment complex does not have a single rock around. So I had to settle for pine cones. You may also want to have something to expand your whip or spread it out for awhile before you start spray painting. Also, have a spot that the whip can lay out for a little while and dry. It will be a little sticky until the paint dries. Speaking of sticky, there is a high probability that you will have spray paint all over your hands. If you are not okay with this, you need to procure some gloves.
First you need to get all of your equipment set up. Lay out your newspapers, and put down something that will keep them in place. Then get to spraying. Make sure that you cover the whip from top to bottom, and make sure you get it all the way around. This is the tricky part, and for me, I just went piece by piece, spinning it until I covered the whip. I only did one coat of paint, but if you really want it to be screen-worthy, I suggest two. Then let it dry. Here's some of the pictures that I took of the project!
 |
| Materials/Supplies |
 |
| After Spray Paint |
 |
| Tin Man Fingers |
 |
| Finished Project |
 |
| Finished Project Part 2 |


Comments
Post a Comment